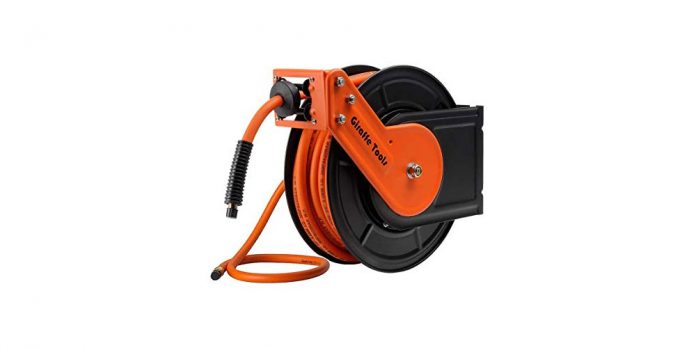
A hose reel is an essential tool for a gardener. This is because of its storage function. The product is used to store hoses and allow for easy application. The product’s installation can influence the performance of these roles. Therefore, this post will focus on hose reel installation.
How to install a hose reel
The first thing you should do before beginning the installation process is assembling the hose reel components. It would help ensure that the hose reel is put together and every element in the box is applied. This means that you must follow the instructions provided by the manufacturer. However, if your hose reel comes when it’s completely assembled, you can skip this part and go straight to the installation procedure. Below is a comprehensive guide on how to install a hose reel;
1. Gather the necessary tools
The first step of the installation process is connecting the tools. This is an easy step because the procedure does not require a lot of tools. All you need is;
- A pair of pliers
- A drill
- A set of screwdrivers
2. Select the best installation location
The next step is choosing the best spot for installing the hose reel. The hose reel design will significantly influence your choice. For instance, a wall-mounted hose reel must be installed on a wall while a ceiling-mounted hose reel goes on the ceiling. Regardless, you still have to choose the best part of the wall or ceiling to place the hose reel.
Here, it would help if you considered how close to the application area the installation spot is. For instance, if you plan to use the hose reel for gardening, then it would be wise to have it as close to your garden as possible. The installation spot should also offer safety for both the hose and the hose reel. Note that failure to choose an ideal location for mounting the hose reel may adversely impact its effectiveness.
3. Start with installing the mounting bracket
After choosing the best spot, you can start the installation process. The first step of installing is mounting the bracket. The bracket needs to be mounted as close to the water faucet as possible. This is because most hose reels are not usually long. It would also be wise to ensure that the height of the brackets is not too high to reach or too low that it looks weird. You will need a drill for mounting the bracket. Ensure that it is securely installed that it can handle the weight of the hose reel.
4. Mount the reel on the bracket
After the bracket is securely installed, the next step is getting the reel on it. The hose reel usually goes between the bracket. Here, you will need some screws and a screwdriver. You must figure out where the center of the mounting hose is located to ensure that the reel’s carrier block is correctly aligned with the centerline.
Conclusion
After correctly mounting the hose reel, the job does not end there. The next natural step is installing the hose on the reel. This should be easy if you know where it is supposed to go. A manufacturer’s instruction guide would come in handy here.


